Homemade Diaper Rash Remedy


Homemade diaper rash remedy

This week I took a trip down memory lane with old photos of our growing family. Can I just say, I miss the days of little pudgy fingers, chubby cheekies, and gooey chins?! *sigh* But I digress...

What transpired from my little reflective trip was remembering all the efforts it takes to create a healthy space for babies. With our last child, I finally got brave enough to use cloth diapers (read: I finally didn't feel like I was drowning in the newness of motherhood enough to handle another new thing in my world). Since cloth diapers work a little differently than the gel packed store-bought diapers, "bottom dampness" was a real battlefield. 

Thankfully, I have well-seasoned, earth mama friends who tipped me off on a secret I am about to share with you. Ready for it?

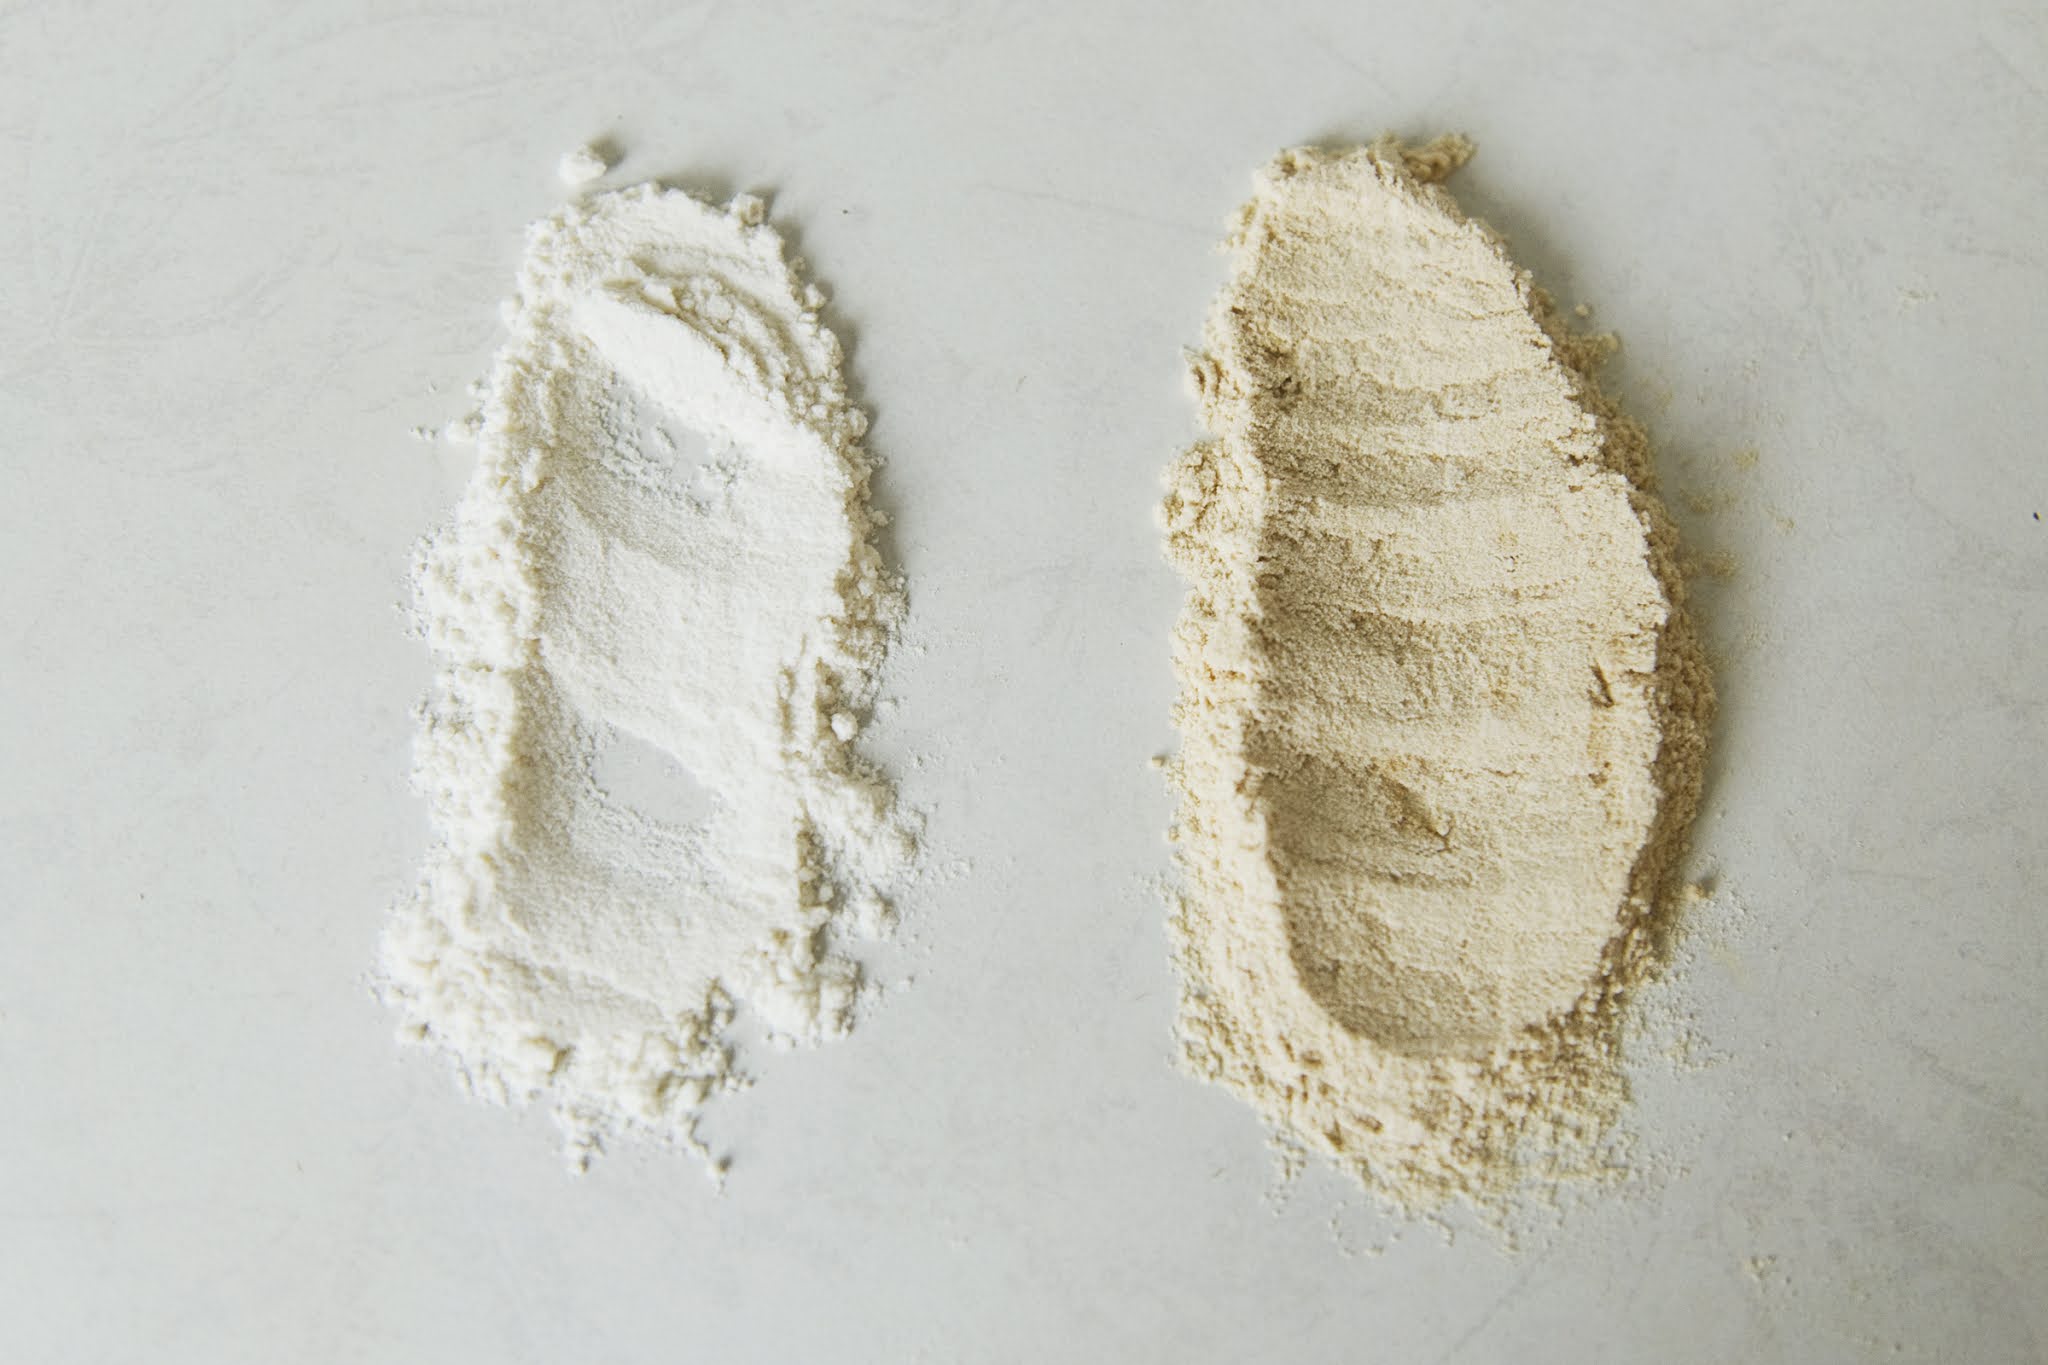
Browned flour.

Pretty exciting, hey?! We used every cream on the market (including a few prescriptions once or twice), but at the end of the day, it was browned flour that finally helped us win at the game of diaper rashes. Not only did it work, but it's cheap too! (Remember, I'm a pinching tight wad, see former post for a refresher on that.).

But Sarah, what is browned flour?

Browned flour, not to be confused with whole wheat flour, is simply white flour that has been cooked in a frying pan. Here's how you make it:

1. Find yourself plain white, unbleached flour (if possible the non-enriched kind, although that is a detail I learned after the fact, and it didn't seem to bother our baby's skin).

2. Toss the desired amount into a frying pan or pot (I usually used about a cup at a time since I only made enough to use quickly to avoid it going stale).

3. Turn your heat to medium and begin to move the flour around your pot (do not put anything other than your flour in the pan). 

4. It will seem like it's taking forever, and then suddenly the flour will begin to darken quite quickly (and it will smell pretty awful too!)

5. Once the flour is brown, set it in a container and leave to cool before using on your baby. 

You do not need to add anything to the browned flour, simply use it as it is. I used a little of mine every time I did a diaper change, and a good dusting after bath time (let your baby air dry a bit before strapping on a diaper and "dusting", it will make a huge difference!)

If your baby us really struggling, take them to the doctor as they may need a prescription strength cream to knock it back. Once it's under control, switch to browned-flour as a preventative measure to keep that pesky rash from returning. 

There you have it! An all-natural remedy to diaper rash! Enjoy.

All my love,


Like Grandma Did
0 Comments

Reclaiming the Sabbath


Reclaiming the Sabbath


“Remember the Sabbath day, to keep it holy.” (Exodus 20:8)


Scanning the house one last time, we checked for missed items before our departure. The trailer was packed. Suitcases, cooler, lawn chairs all meticulously laying in their neatly engineered spaces, every inch accounted for. I pulled the door shut and locked up behind us, we were finally leaving for a much needed holiday.


As the miles between our home and our vehicle grew, our hearts and minds began to settle in to vacation mode. It was a time of joyous rest and celebration of the summer heat! A time away from the ordinary and somewhat draining routine, to step into the extraordinary and refresh our minds and souls once again. Upon return our rhythm would be reset to one of slow simplicity, and filled with wonder from all that we had explored. 


It seems as though, at least in our home, we wait with bated breath for the calendar months to flip to the beauteous months of summer before we feel we are deserving of a time out. We bustle and rush, and finally the days are long and hot, and we clamour for an excuse to depart from routine.


Oh, but the beauty of God’s rhythm…


For in six days the Lord made heaven and earth, the sea, and all that is in them, and rested on the seventh day. Therefore the Lord blessed the Sabbath day and made it holy.” (Ex 20:11)


Rest.


No, not rest as we see it.  The Hebrew word “shabbat” is not one indicative of a weary work-worn individual, but rather, and perhaps more simply, it is the cessation of work. 


God stopped. 


For six days he worked, and “it was good", He was satisfied with His creation. On the seventh day He stopped working because there was nothing left to add. It was perfect and complete, lacking nothing. As such, it was, and is, to be set apart (holy) as a day to be celebrated. 


God gave a routine and rhythm for us to abide by so our deep longing to escape the weary days of ordinary would be interrupted with a day of extraordinary each and every week. A day where we intentionally pause from our busyness to celebrate His goodness, His perfection, His provisions, His redemption. We don’t stop out of a rigid, legalistic need to stop, but rather we stop to come together and rejoice in all that He is, and all He has given. It is a shift from our busyness, to a deep contentedness of joyous worship and understanding that it is God alone who carries the weight of our weeks and weakness. 


Here we find a holy rhythm that flows from our adoration of The Lord's providence. Let us lap from His living waters and refresh our souls in the stillness of the Sabbath. 


All my love,

Like Grandma Did author


Like Grandma Did
0 Comments

DIY 3D Paper Star with Printable Template


3D paper star craft

As we inch closer to the festive season, I love the idea of a home decorated in homemade handcrafts. It creates a space of cozy invitation to linger and admire that many hands that make a home work. Not to mention I'm cheap (like penny-pinching tight-wad cheap), and DIYs can usually save you a few dollars, while still looking pretty. 

I was admiring a series of three dimension paper stars hanging in a store one day, when my mom's great words wisdom crossed my mind, "I think I can make that!" So I decided to put my geometric loving left-brain to work and created a template. You can download the template for yourself at the bottom of this post, but be sure to follow along so you can see where to fold and glue your masterpiece. 

Old-fashioned crafts


1. Start by printing yourself 6 pages of the template on 8x10 sheets of paper. My printer was able to handle printing on heavy cardstock, but go with what your printer is capable of. You could also use 8x10 patterned scrapbook sheets, or glitter paper (printed on the back of course). 

2. Next, cut out your shapes from the paper. Keep in mind that the side of the page you can see the template on will be the back of your star. 

Now for the fun part...

3. Flip your start over so you cannot see the template, but before you do so, look for the straight and centered line running down the middle of your star (the line of symmetry for you math lovers!) . See it? Once you do, flip your star over and fold your shape in half on that line. 

4. Flip your template back over to see the lines again. Fold every other remaining line (all but the middle line you just folded) template-side in. 

Paper star craft template
5. Repeat until all 6 templates are folded and then get ready for gluing.

6. Grab your glue-stick and start to combine your templates by gluing the tiny two edge flaps together (one from each template). The glue will go the non-template side. Where the two templates join will be the peak of the stars "arms". 

7. Once you have all 6 templates held together on the edges, flip your star over and begin to fold the larger flaps over each other (you can see the back of the star in the above images). You will need to pull them tight to help create the 3D effect of your star. Repeat until you have completed all 6 points for your star.

8. (optional) If you wish to create a star that has two sides, print 6 more templates and repeat the process. You can then glue the two side together using the larger flaps to secure them to each other.

9. If you have used either a one-sided, or two-sided star, allow it to dry completely then punch a hole through the top and run a string, yarn, or piece of jute through the hole and your star is now ready to hang. 


From here you can add glitter, or leave plain...it's completely up to you!

Download your template here, or click the image below and right click for a download if the link doesn't work for you. 

Happy crafting!

Love,

Like Grandma Did

paper star template


Like Grandma Did
0 Comments

For the Weary Homeschool Mom


Exhausted Homeschool Mom


No, sweet friend, you are not failing, you are learning.

You thought all the teaching would be for your children, but here you are, in a place of confusion and frustration, wondering how to proceed. Like your child, with pencil in hand, frustrated by the curve of the “S”, you have furrowed your brow and longed to abandoned the lesson.

“Just calm down,” “Try to focus,” “Don’t get upset.” The words roll off your tongue as your child grows all the more agitated by the unfolding of the events.

But these words...

They don’t acknowledge the challenges of learning, not for them, not for you.

Learning is hard work, and, like the growth of elongating bones and muscles, often brings about pain as we are reshaped. They are the growing pains needed to mature our bodies, our minds, our spirits. Pains long since forgotten as our growth into adulthood slows.

And yet, here you are, on the common ground of unfamiliarity with your child, seeing life anew in your current circumstance.

It’s ok to not know what to do next. It’s ok that it isn’t working today, or tomorrow. It’s ok to walk away and breath awhile. It’s ok to feel what you feel, but don’t linger in the discouragement.

You too are learning. You are learning how to speak in a way that make sense to younger, inexperienced ears. You are learning to find rhythm and routine. You are learning a balancing act between pushing boundaries to grow, and keeping the peace inside your precious relationships.

Your journey will be different than others, as it should be. Those growing pains remind us that we are being shaped into the unique character God desires not just for our children, but for ourselves. These stumbling blocks and days of frustration are simply the pangs of moving from what you used to know and be, to where God needs you to grow in character.

Treasure your relationships above algebra. Stay teachable. And above all, rest in the process, seek His will and wisdom. He will answer.

Give instruction to a wise person and he will become still wiser; Teach a righteous person and he will increase his insight. (Prov. 9:9)

All my love,

Sarah Slanzi


Like Grandma Did
0 Comments
[name=Sarah Slanzi] [description=Old-fashioned homemaking steeped in God's grace] (facebook=https://www.facebook.com/hiddenmotherhood) (instagram=https://www.instagram.com/sarah.slanzi) (pinterest=https://www.pinterest.ca/hiddenmotherhood/)